Actions
Create
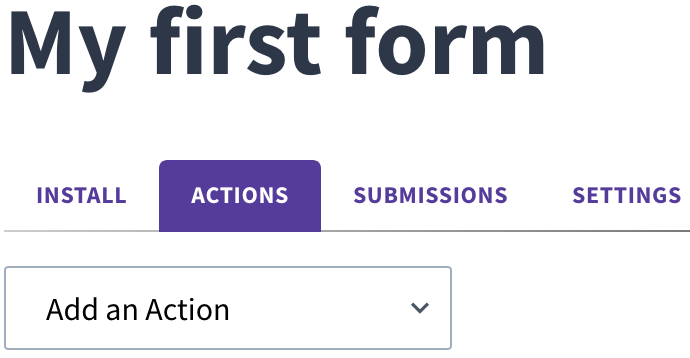
Actions are what happens after a form receives a submission. Each action in a form is triggered with the data in each submission. You can create actions by going to the 'Actions' tab in a form and clicking on on the action you want to add.
Test
Testing an Individual Action
In the actions tab of your forms, there's a list of actions. When you click on the icon, you will be prompted to input JSON to pass to the action. That JSON should be a copy of what a submission from your presentation layer sends to your form, or what you expect your presentation layer to eventually submit. This test does not count towards your account's submission limit.
Testing all Actions
If you would like to test all actions at once, you can simply send a new submission to the form either using the presentation layer in the form's install tab, or you can send a submission to the form through your own presentation layer. Each submission will trigger every enabled action.
Enable & Disable
Enabling an Action
An enabled action will fire any time your form receives a submission. You can enable actions by clicking on the toggle.
Disabling an Action
A disabled action will not fire when your form receives a submission. You can disable actions by clicking on the toggle.
Enabling & Disabling Zapier Actions
Zapier actions can not be enabled or disabled from within Formcake. They are controlled by the Zaps that use them within your Zapier account. When you turn on a Zap, it will automatically enable the Zapier action in Formcake and when you turn off a Zap it will automatically disable the Zapier action in Formcake as well.
Email Template Action
Usage
The Email Template Action allows you to transform submission data into a formatted email. It uses the Liquid templating language for transformation. The email will be sent from no-reply@formcake.com.
Required Settings
| Field Name | Description |
|---|---|
| Name | Used simply to help you remember what the action is intended to do. The action name is never surfaced to the recipient of the email that is sent. |
| To Address | Who to send the email to. You can not template this field, and currently only one email address is allowed. |
| Subject | The subject line of the email. You can not template this field. |
| Body | The body of the email. You can template this field with Liquid. |
| Reply-To Field | Form field used to populate the Reply-To header. If not set, replies to the email will go to no-reply@formcake.com. |
Optional Settings
| Field Name | Description |
|---|---|
| Mock Submission Data | Used to test your templating before saving the action. Create key/value pairs to represent what your presentation layer will be POSTing to the form. You can see the result in the email template preview. |
Email Notification Action
Usage
The Email Notification Action sends a simple notification with the contents of the submission as the email's body. The email will be sent from no-reply@formcake.com.
Required Settings
| Field Name | Description |
|---|---|
| Name | Used simply to help you remember what the action is intended to do. The action name is never surfaced to the recipient of the email that is sent. |
| Email Address | Who to send the email to. |
| Email Subject | The subject line of the email. |
Webhook Action
Usage
The Webhook Action takes the data in a submission and rePOSTs it to a URL. You can provide basic authentication and headers with the request.
Required Settings
| Field Name | Description |
|---|---|
| Name | Used simply to help you remember what the action is intended to do. The action name is never POSTed to the target URL. |
| URL Endpoint | the URL you want the submission data to be POSTed to. Both http and https are supported. |
Optional Settings
| Field Name | Description |
|---|---|
| Basic Auth | Provide a username and password separated by a pipe (|) and that will be used when POSTing to the URL endpoint. Please note that this information is stored in plaintext and is not encrypted when being transmitted to the URL endpoint either. |
| Key Replacements | If your submission has keys that the webhook URL endpoint does not support, you can convert them to different keys with this setting. The value that key represents will be preserved, the key will simply be changed. If you change a key to one that already exists in your submission, it will be overwritten. |
| Headers | Add HTTP headers that you would like included in the POST to the URL endpoint. Currently, all content POSTed will automatically have the Content-Type application/json header and adding it is unnecessary. |
Zapier Action
Usage
The Zapier Action allows you to connect your forms to your Zapier account. Every submission your form receives will trigger the Zapier Action which will cause a Zap to fire.
Connecting Your Account
To connect to Zapier, you need an API key and access to the Formcake Application within Zapier.
1. Create an API key and make sure you store the key string in a safe place.
2. Accept our invitation to use Formcake on Zapier.
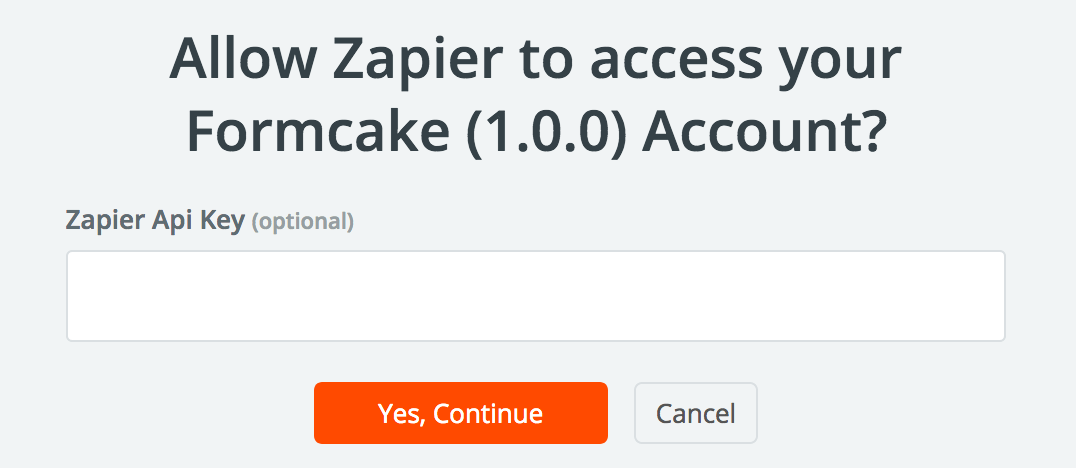
3. When creating a new Zap with Formcake for the first time, you will be prompted to 'Sign in to Formcake'. Put the API key string into the 'Zapier Api Key' field and click 'Yes, Continue':
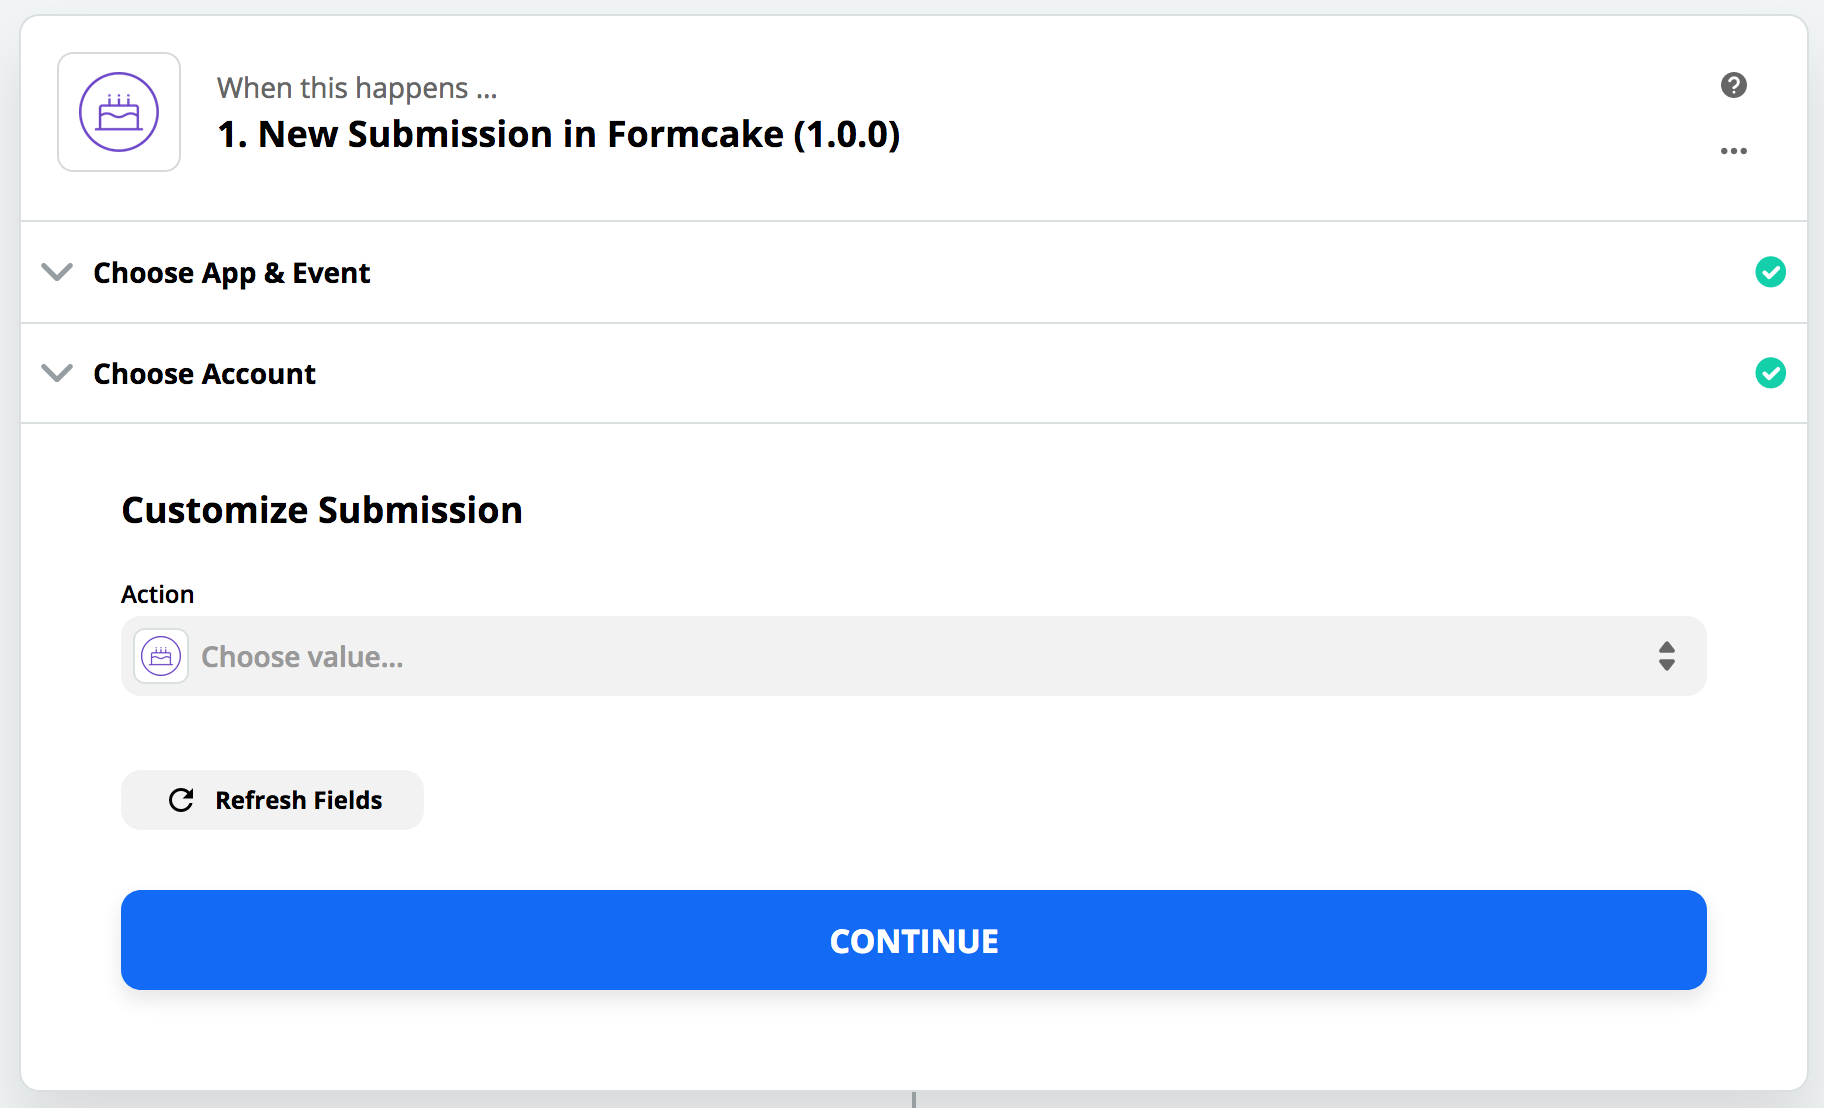
4. Now that you've connected to Zapier, all Zapier Actions in your forms will appear in the next steps of creating a Zap.
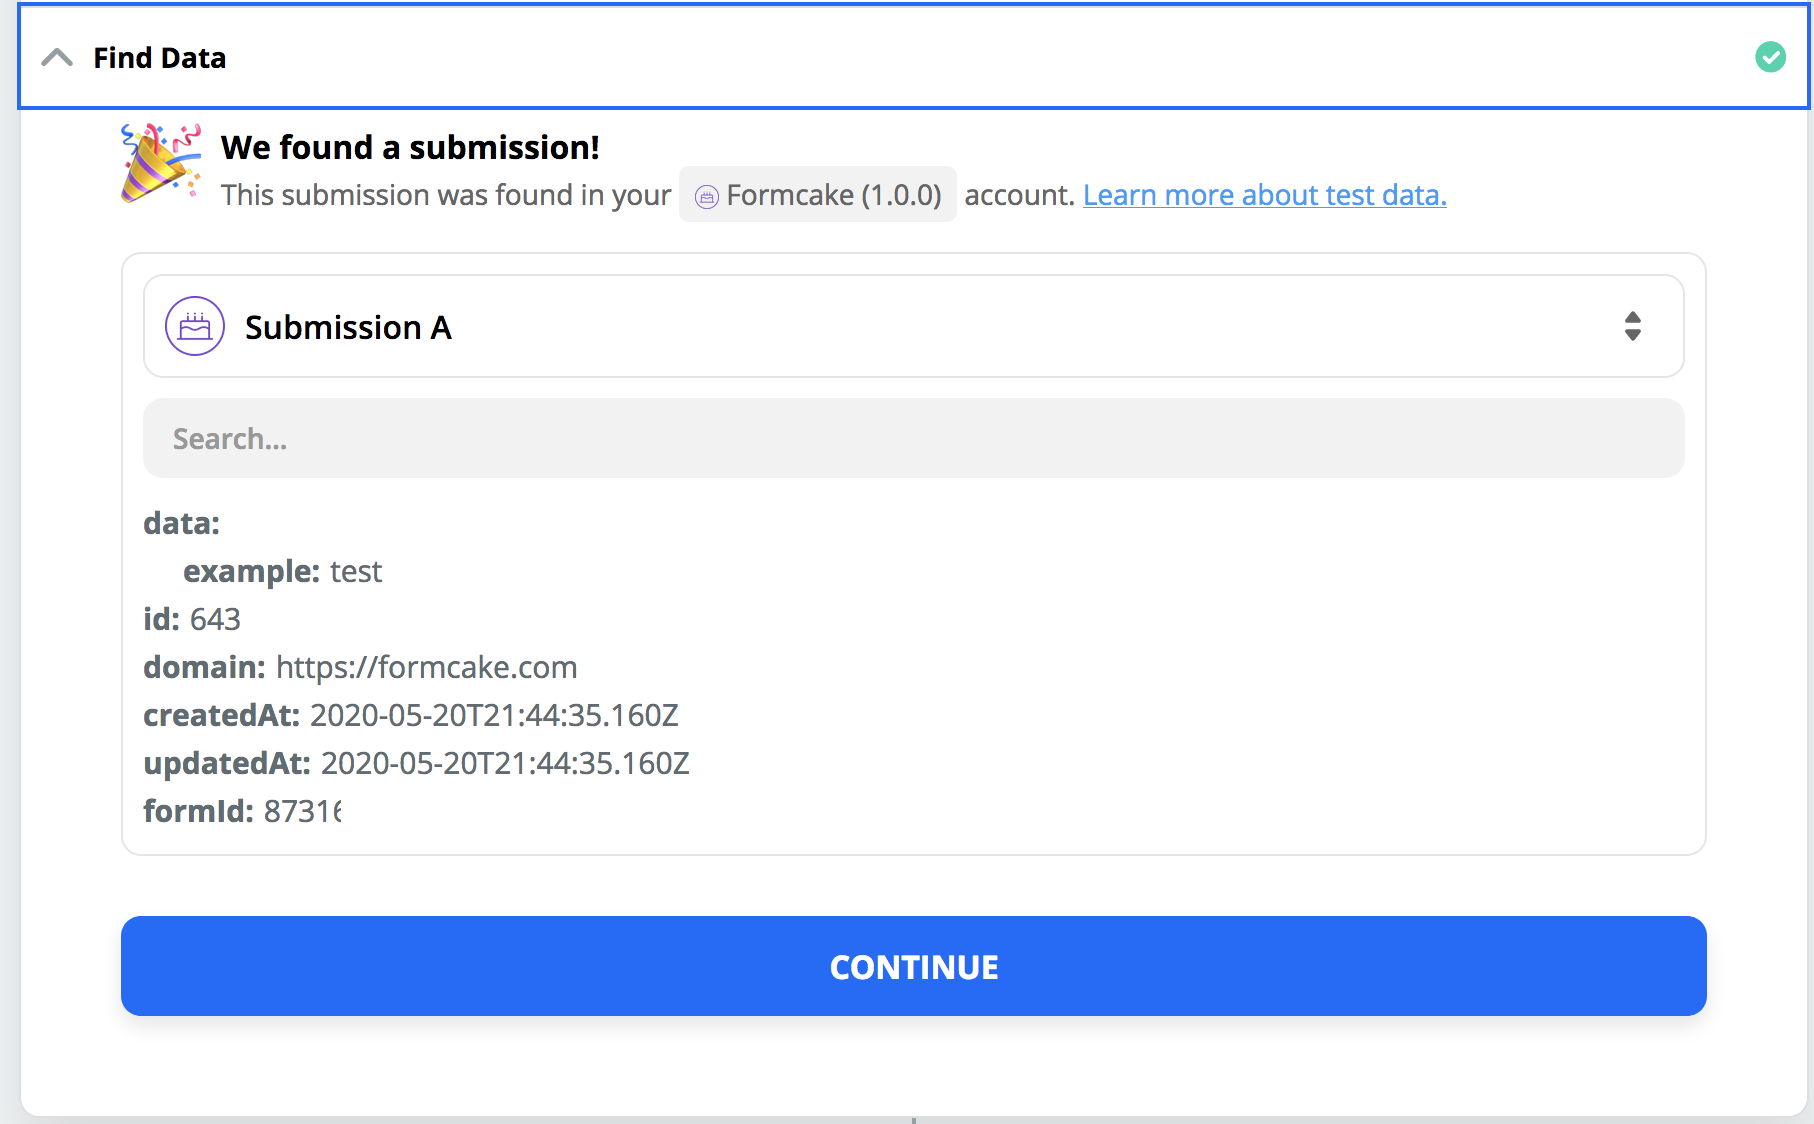
5. Finally, to fully customize your Zap, your form should have a submission in it from your presentation layer. You can put a simple submission in it from the install tab, but we recommend that you submit something from your application so that the shape is represented appropriately in Zapier.
6. You've successfully connected to Zapier!
Required Settings
| Field Name | Description |
|---|---|
| Name | Used simply to help you remember what the action is intended to do. The action name is never surfaced to the recipient of the email that is sent. |