Setting up a Contact Form with Webflow and Formcake
by Joe Marshall on February 9th, 2021

Webflow is a site editor, CMS, and publisher all-in-one.
It allows you to build responsive websites, then either host those sites with Webflow or export the code so you can do-it-yourself.
But if you're using Webflow, you might want to do more than just trigger a notification or quietly store the form submission - maybe you'd like to kick off a workflow creating a Zendesk ticket and posting a message to the #support channel in your team Slack, or maybe you want to to create a form that emails its submissions to a few people and then stores the contents of each message in a Google Drive spreadsheet.
All that's possible - but with Formcake. Luckily you can integrate Formcake and Webflow very easily. Let's walk through creating a simple contact form and hooking it up to Webflow anf Formcake.
Creating the Contact Form
Let's first create a contact form inside Formcake. It starts, naturally enough, on the "Create Form" page.
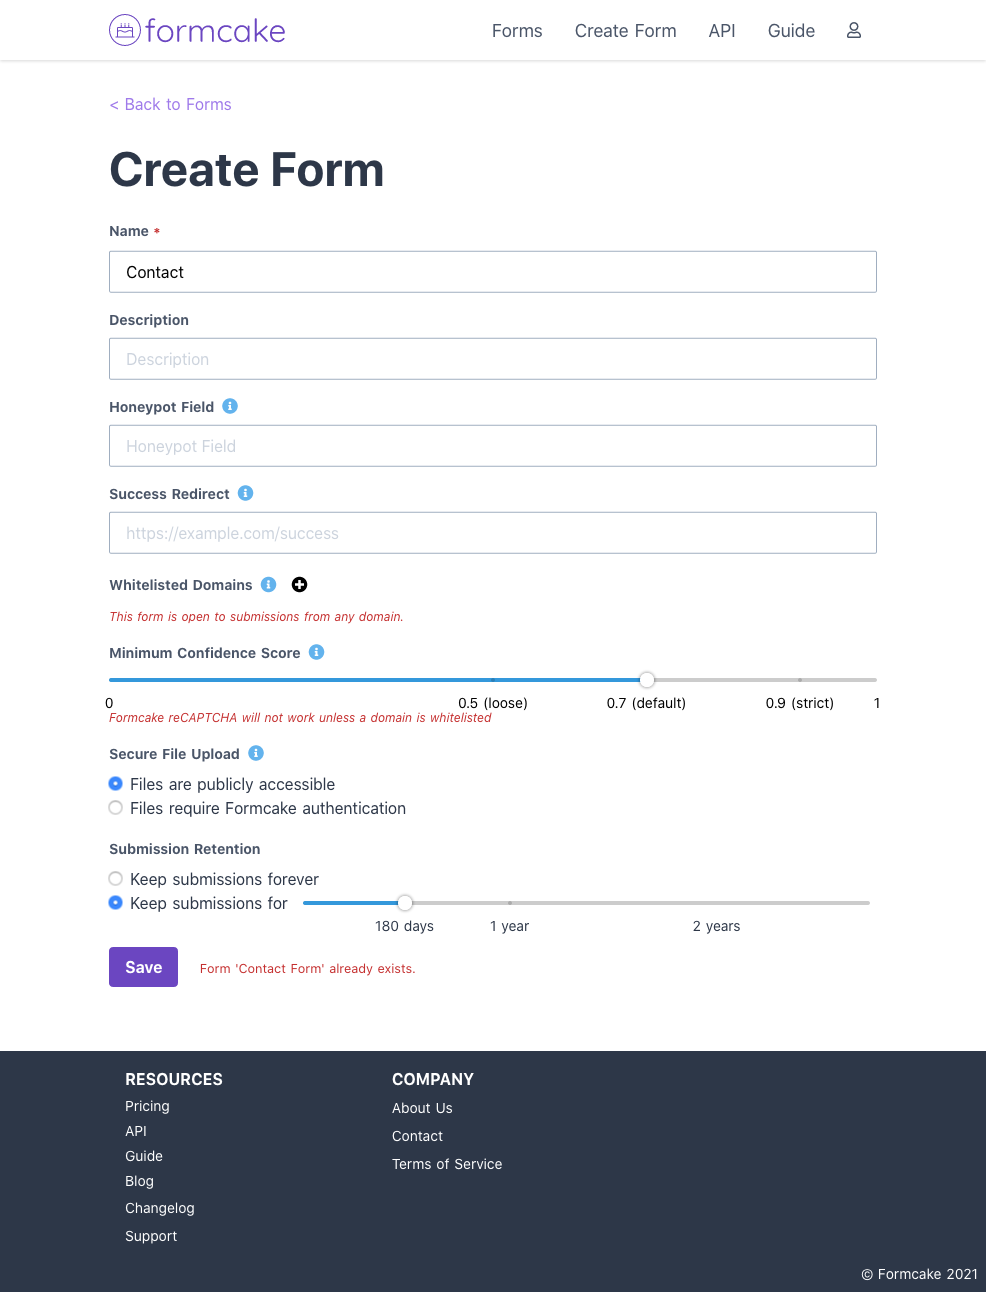
After creation, you'll be redirected to the new form.
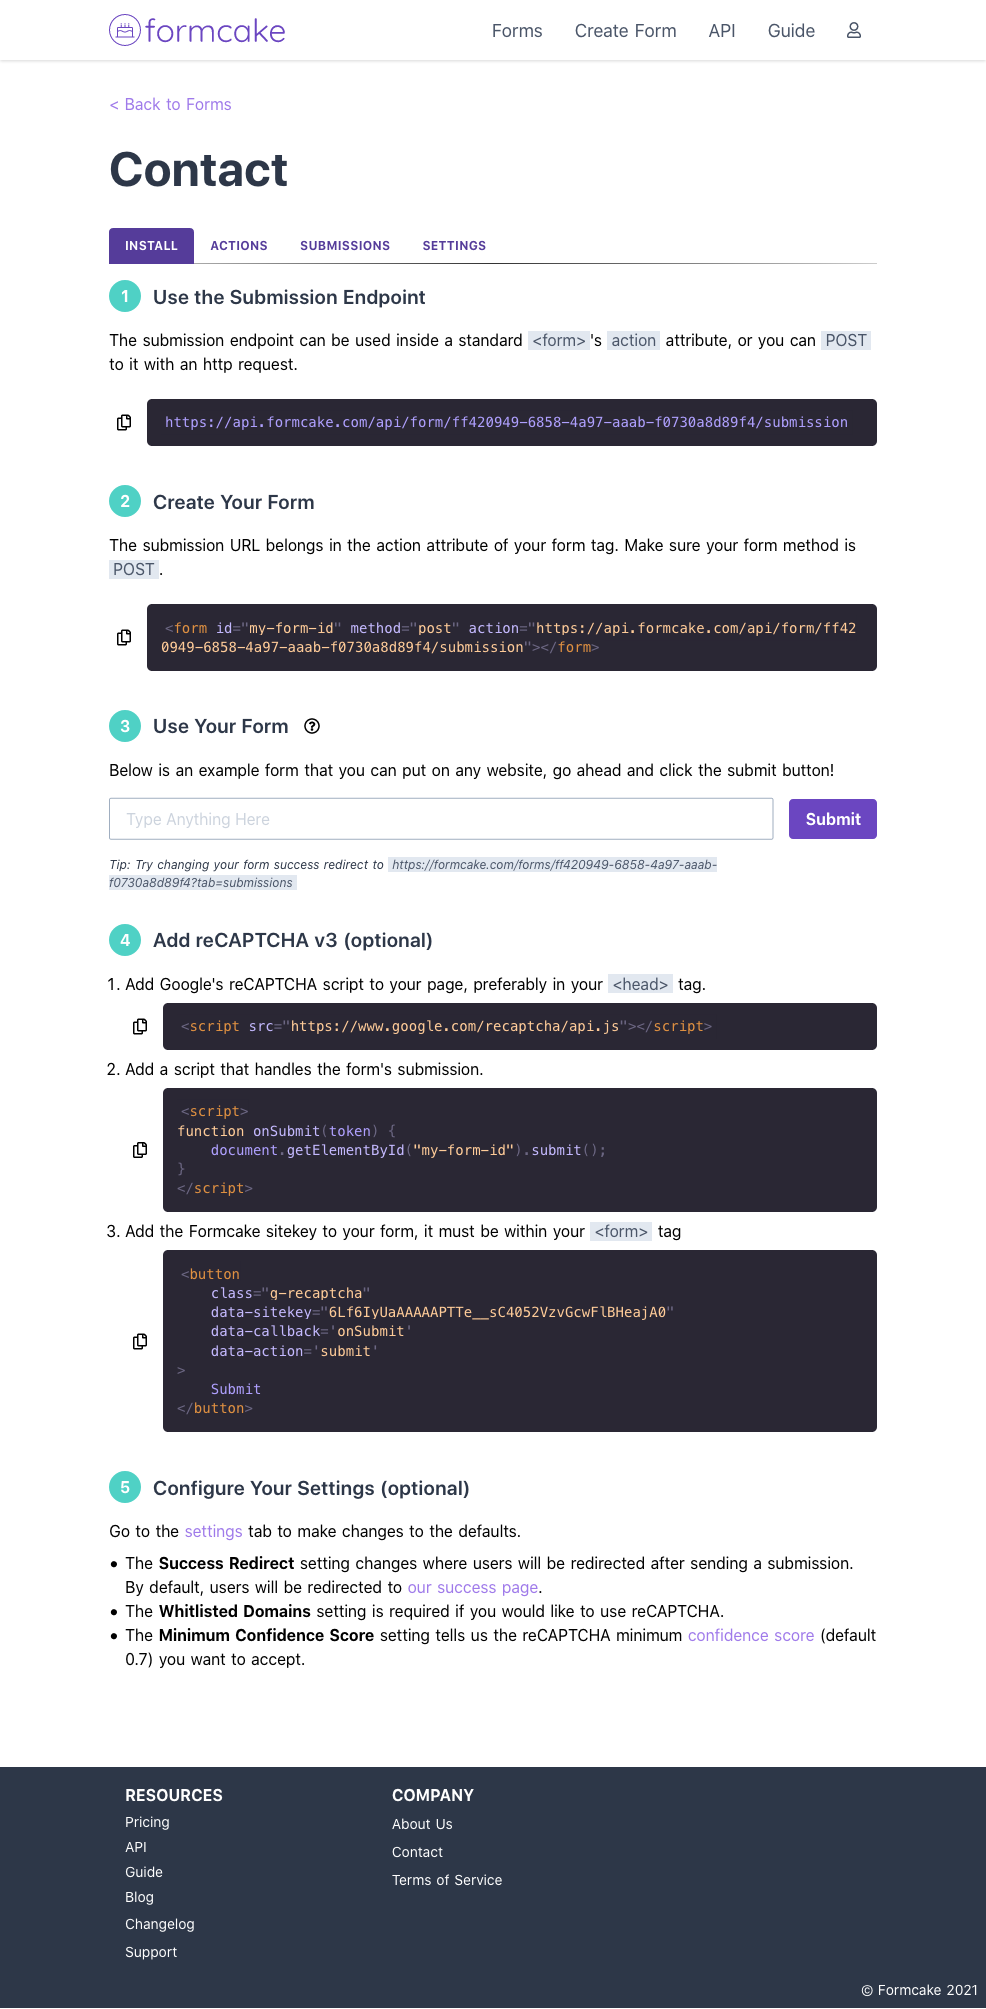
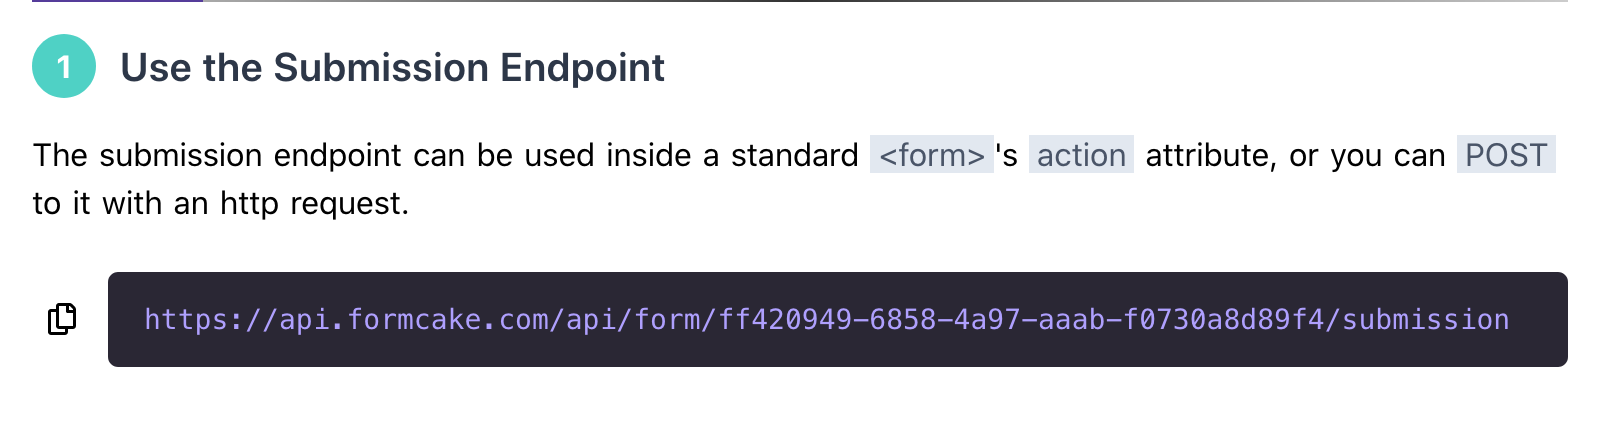
The first item on the form page is the API endpoint, copy it using the clipboard icon.
Connecting to Webflow
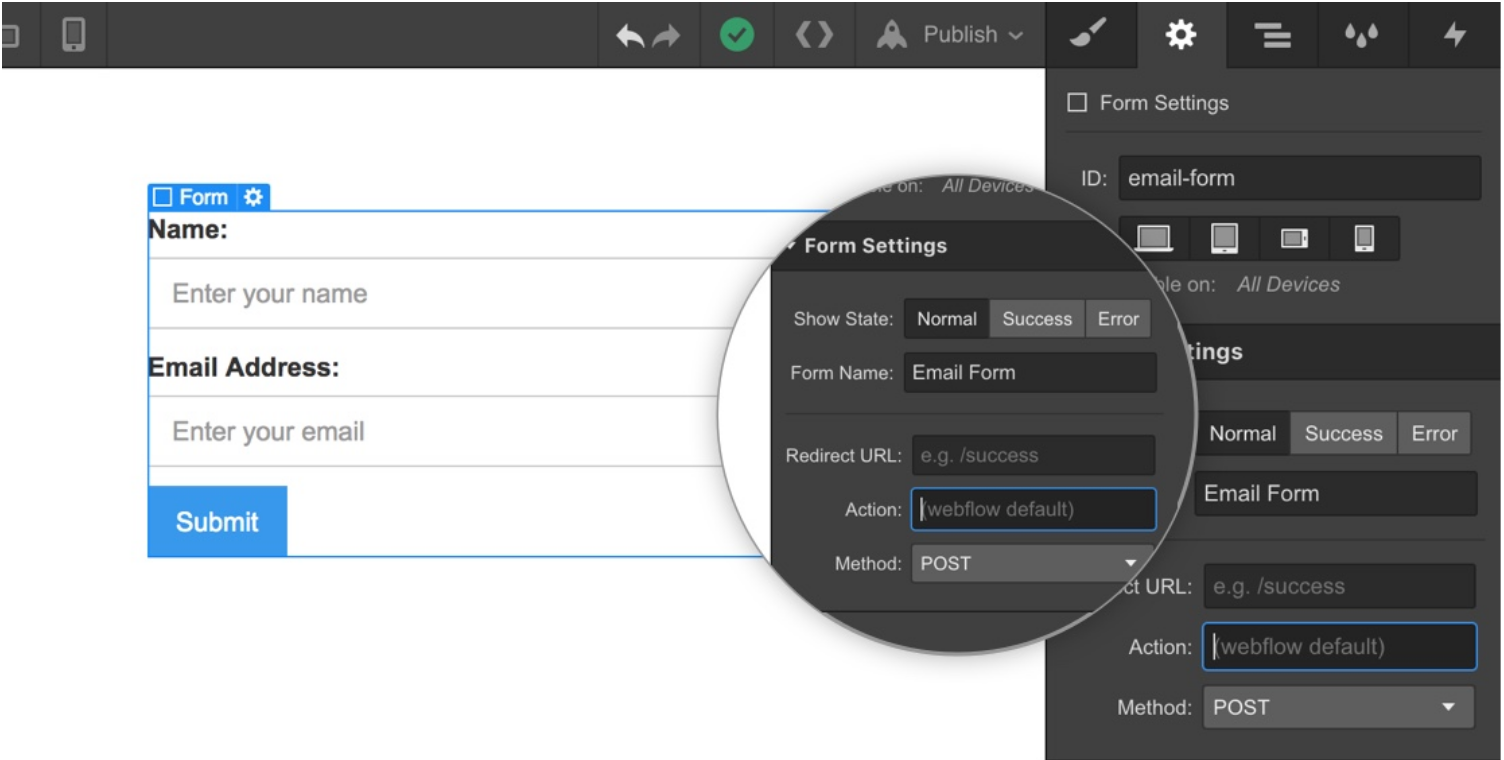
First, you need to add a form in the Webflow editor.
Once the form has been created, click on it and you'll see an action field in the available menu. Paste the API endpoint you copied from the Formcake dashboard into the action field.
Finishing Up
And you're done! Submit your Webflow form and you should see your information populating in Formcake! From there you can hook the form up to Zapier and then it's off to the races.