Creating a JAMstack-friendly Contact Page
by Joe Marshall on March 4th, 2020
My blog, like most dev blogs, is a static site powered by Hugo, built and served up by Netlify.
It has no dynamic pieces, no build server: I just push a change to the master branch of the Github repo I've linked with Netlify and they take care of the rest - pure, unfiltered JAMstack.
This is great, but leaves me in the lurch if I want to bake in some backend behavior without necessarily going all-in on Netlify. In this case, I want to add a form (which Netlify does let you do) but I want it to do more than just send me a notification email.
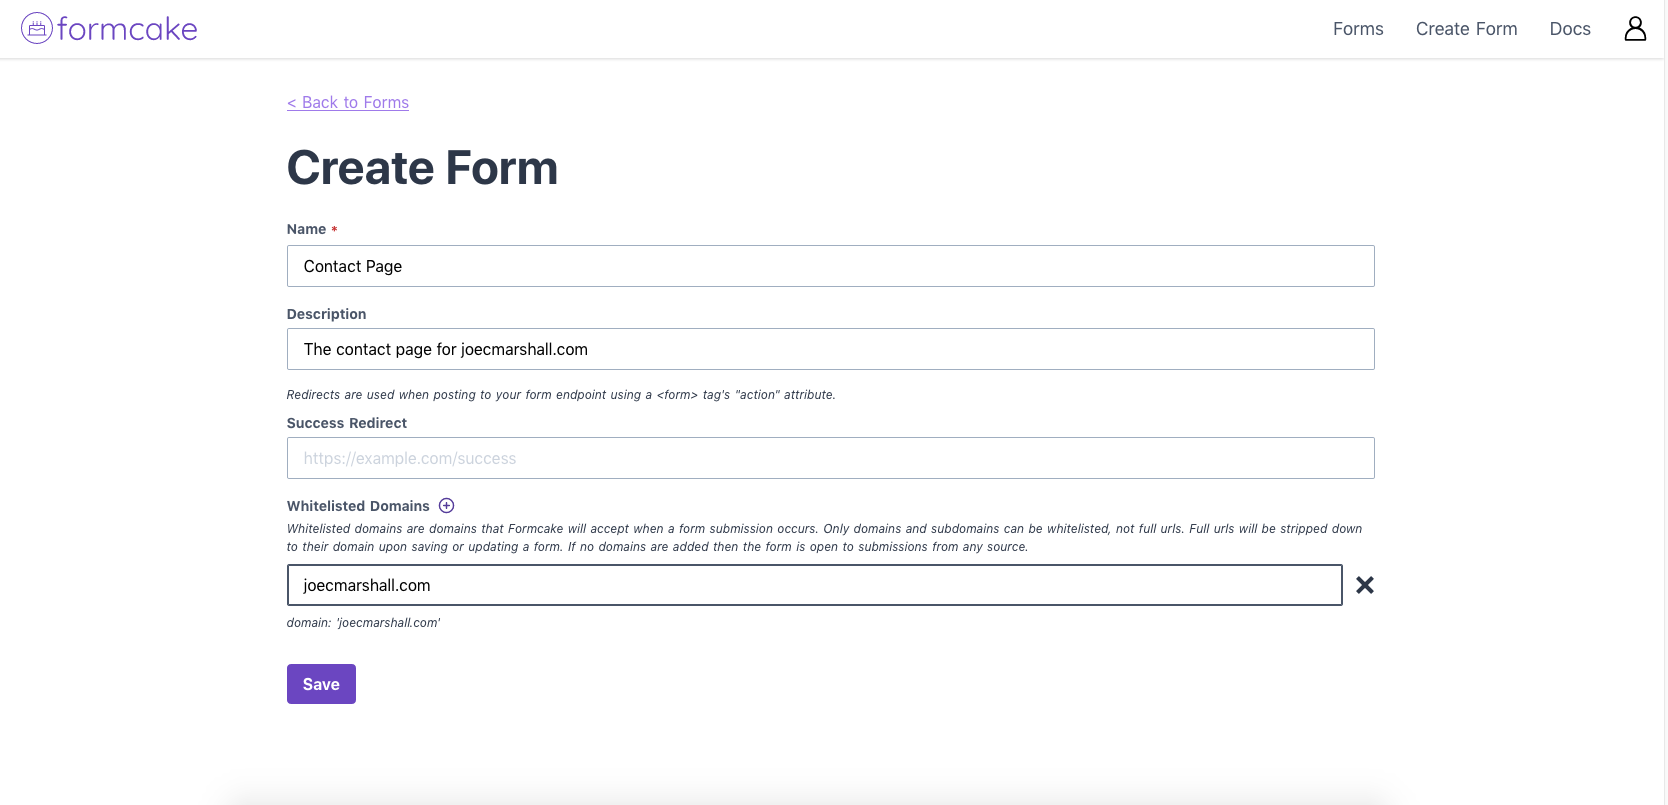
Create a Contact Form
The first thing we're going to do is log in and create a form. Notice that we're adding joecmarshall.com as our only whitelisted domain in order to prevent spam abuses.
Copy the Endpoint
Once you create the form, you'll be taken right to it, where you can copy your submission endpoint from the copy-to-clipboard icon.
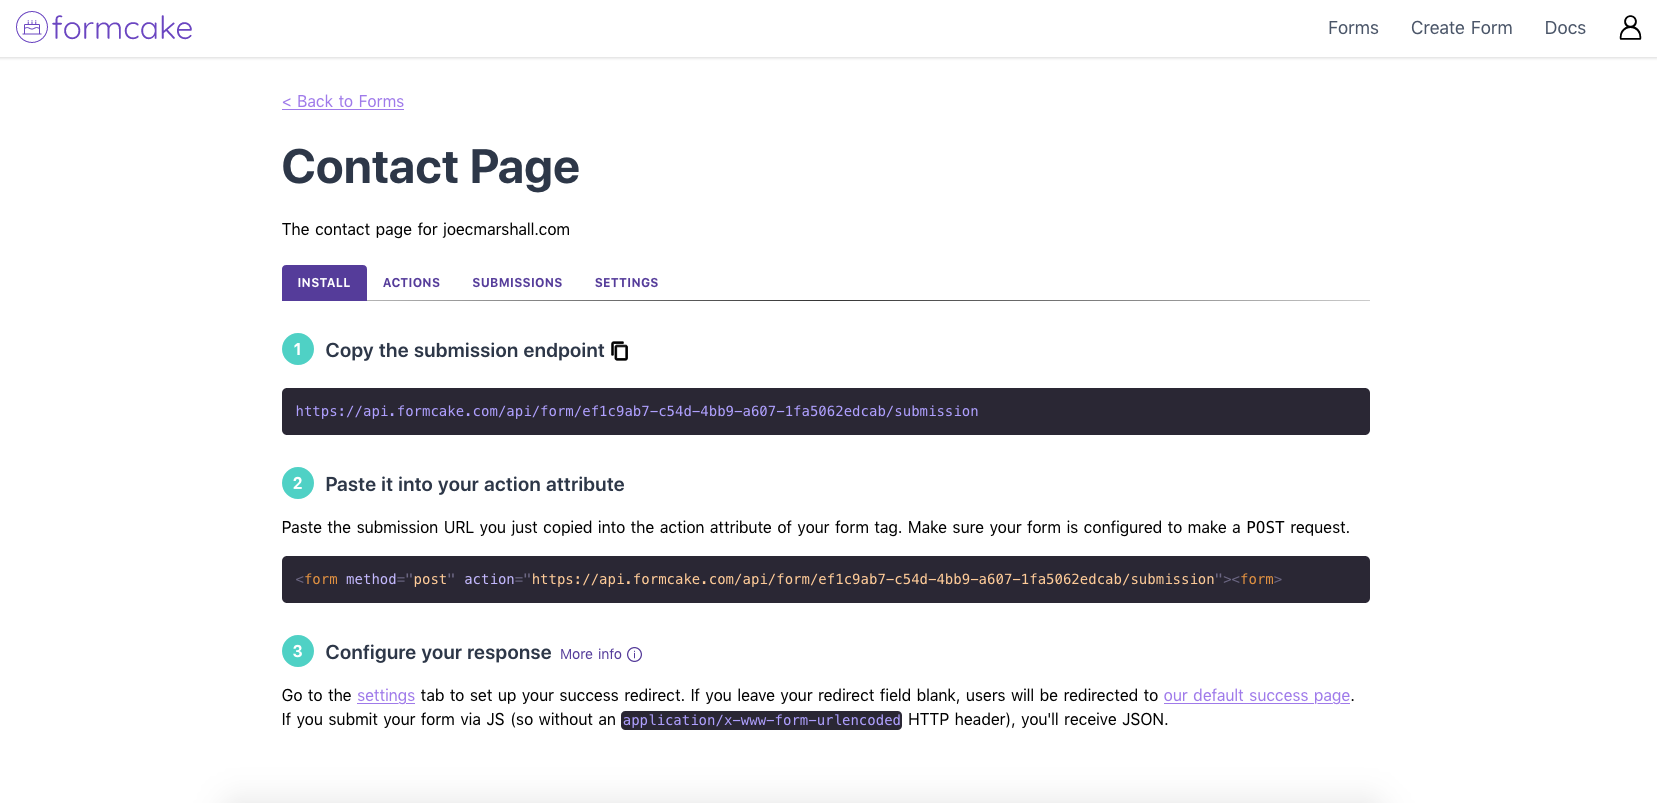
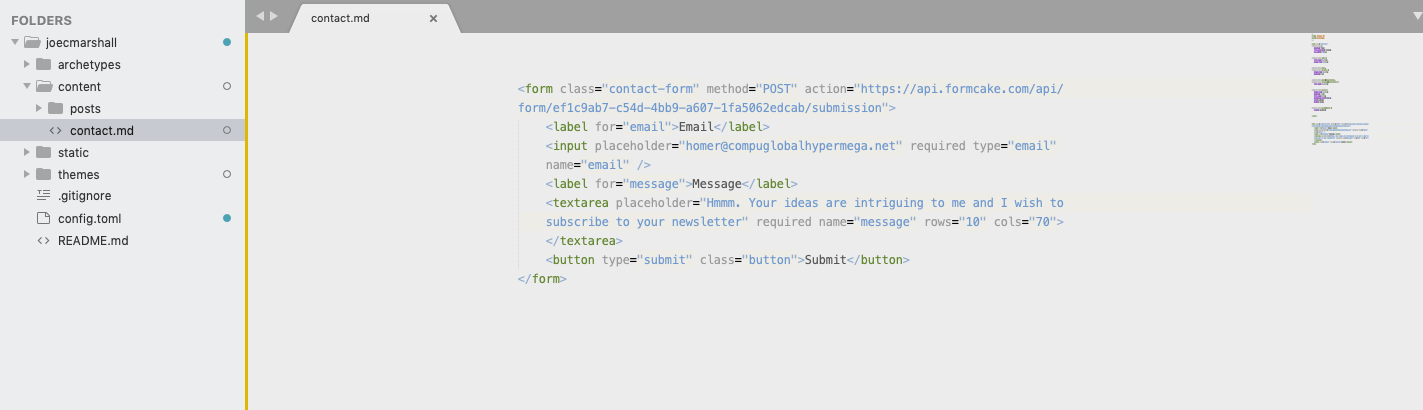
Add the Endpoint to Your Form
In my case, I'm adding a a static contact page to my personal Hugo blog. All I need to do is simply copy my endpoint into the action attribute.
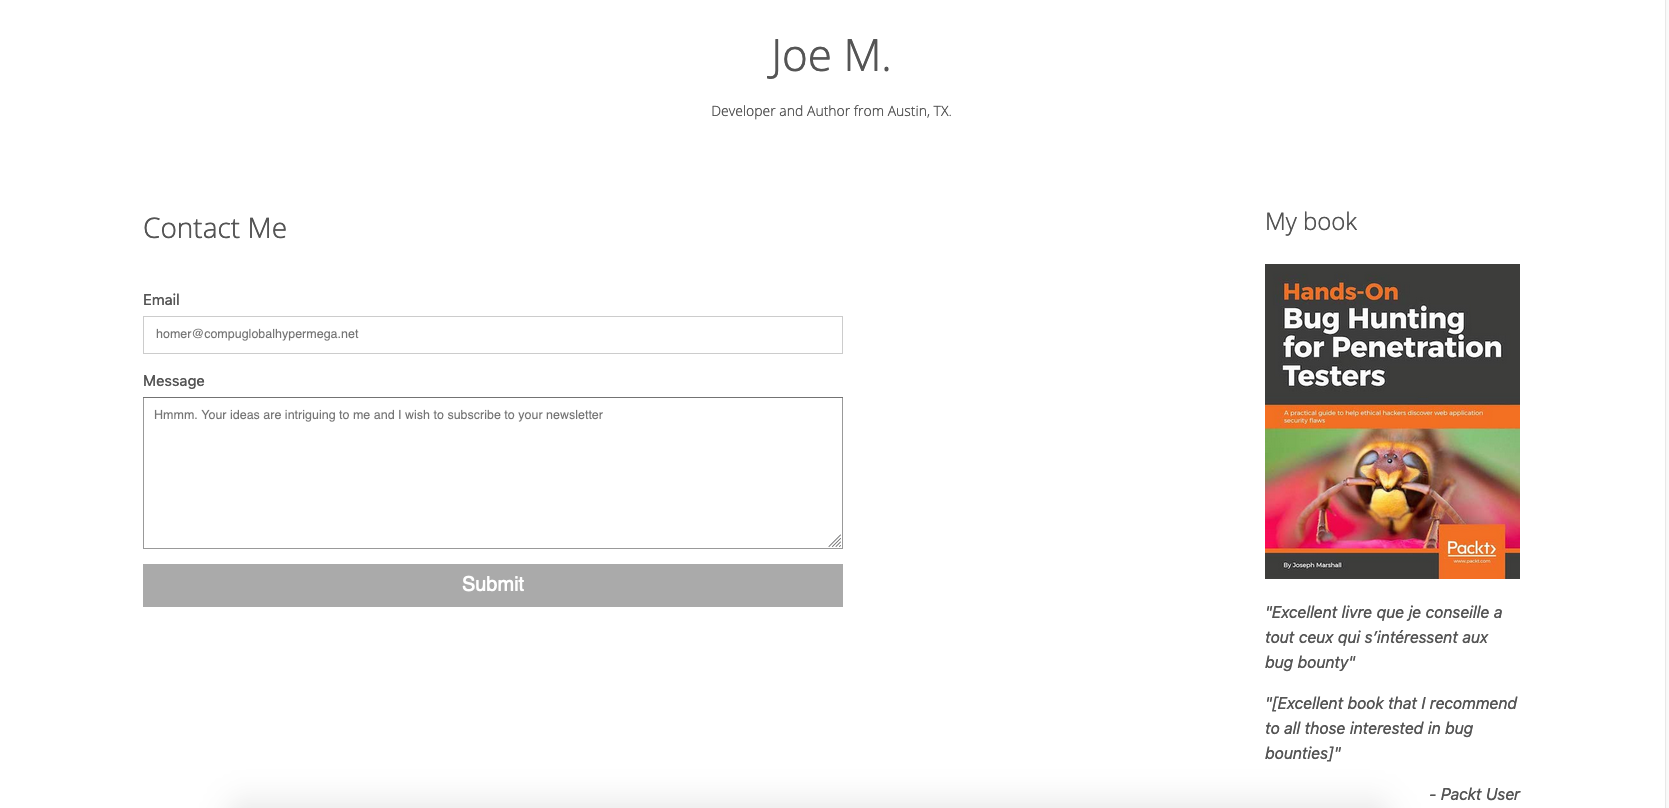
Test it Out
Now let's see if it works! We'll fire up the 'ol contact page...
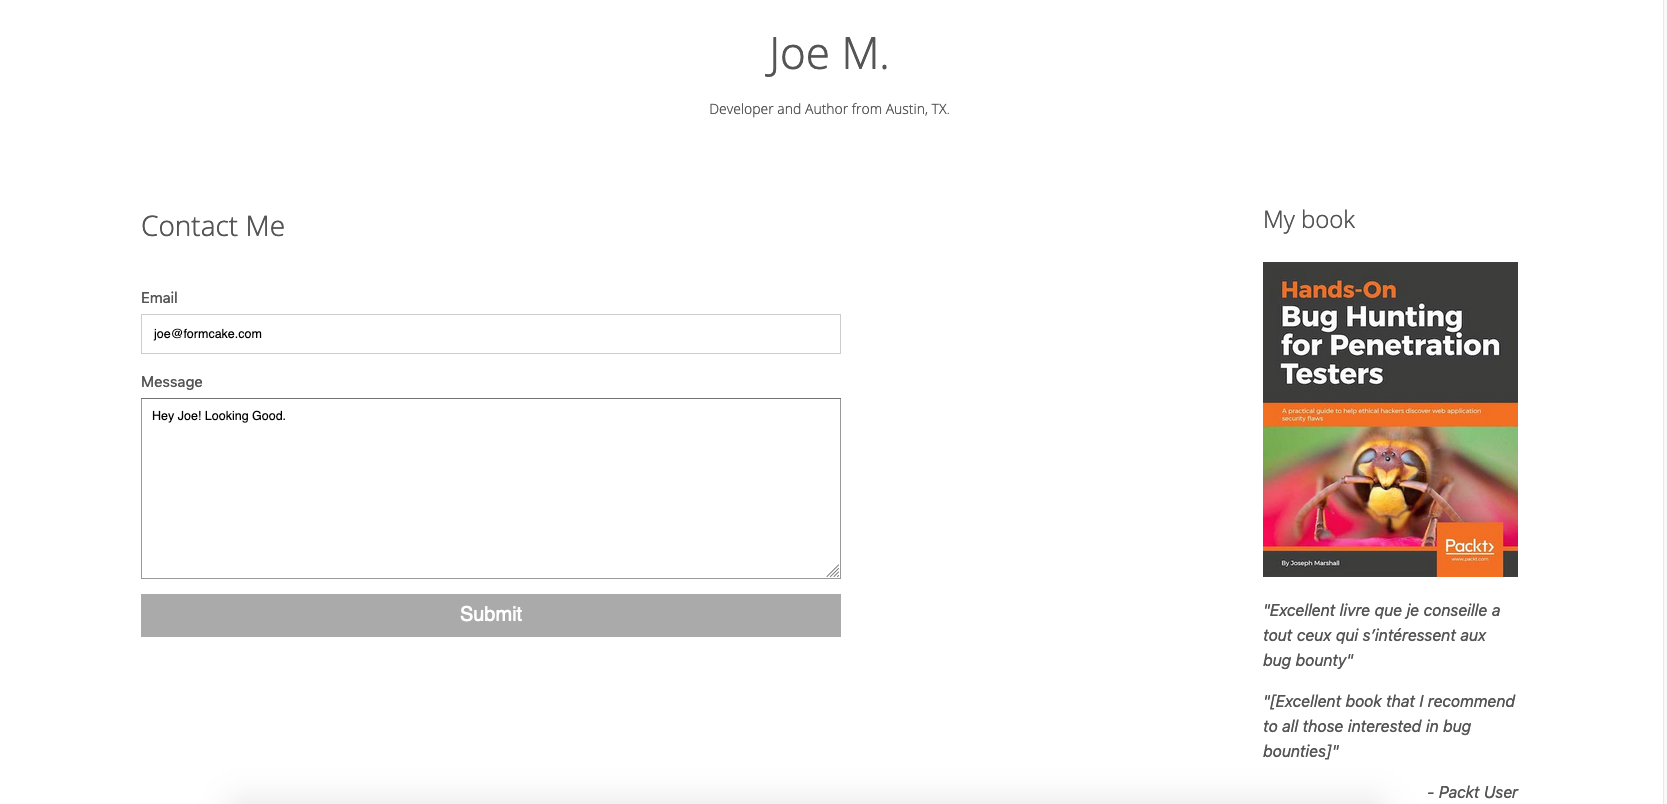
... and give submitting a shot...
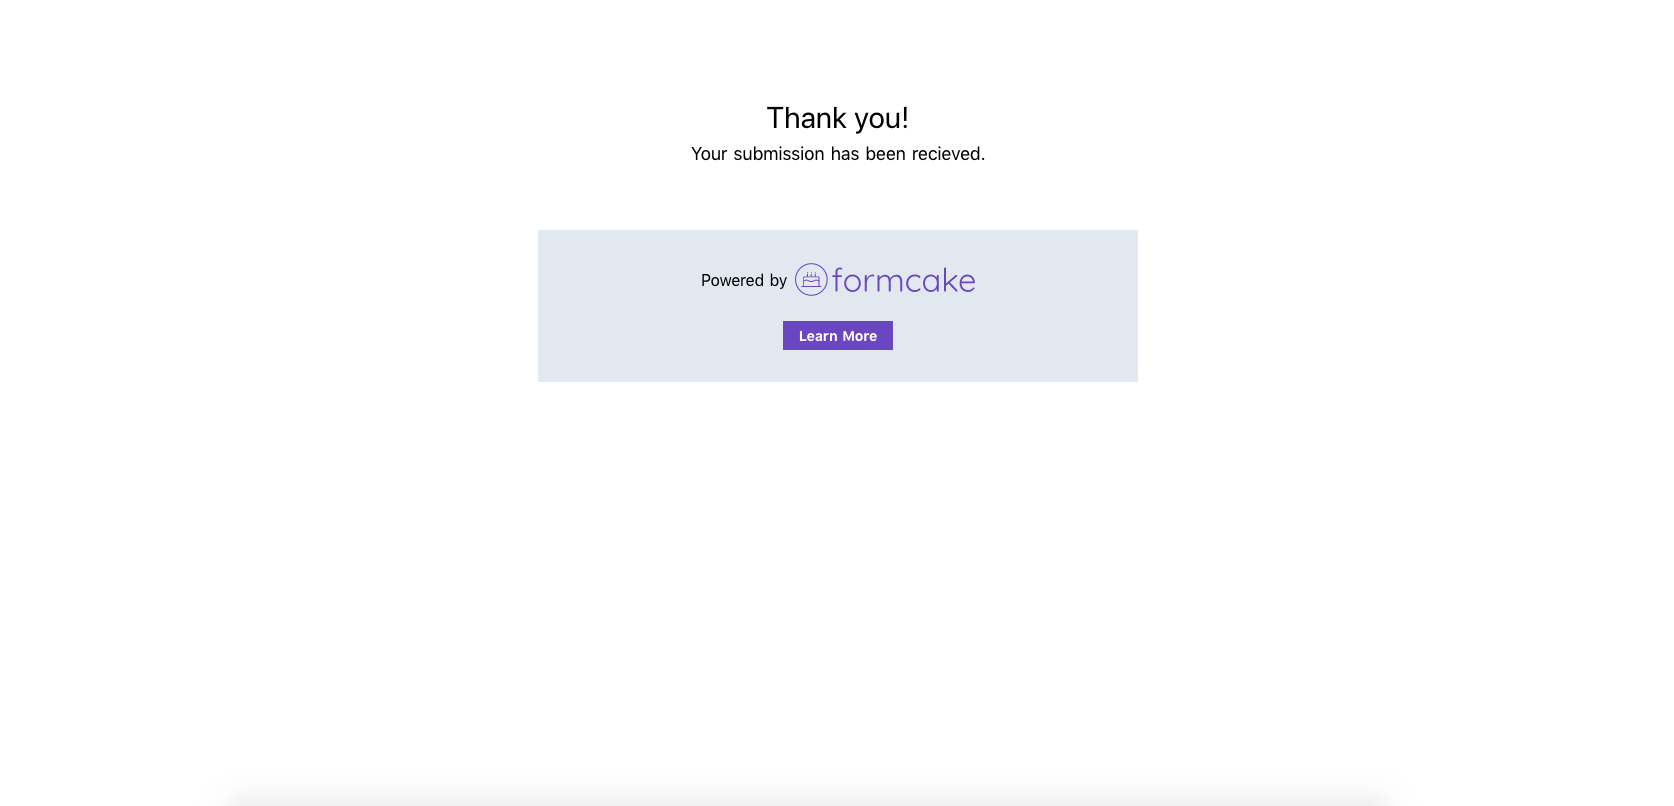
And it's a success! In fact, you can [try the live version] too just to double-check. But of course let's ensure that the actual submission was stored...
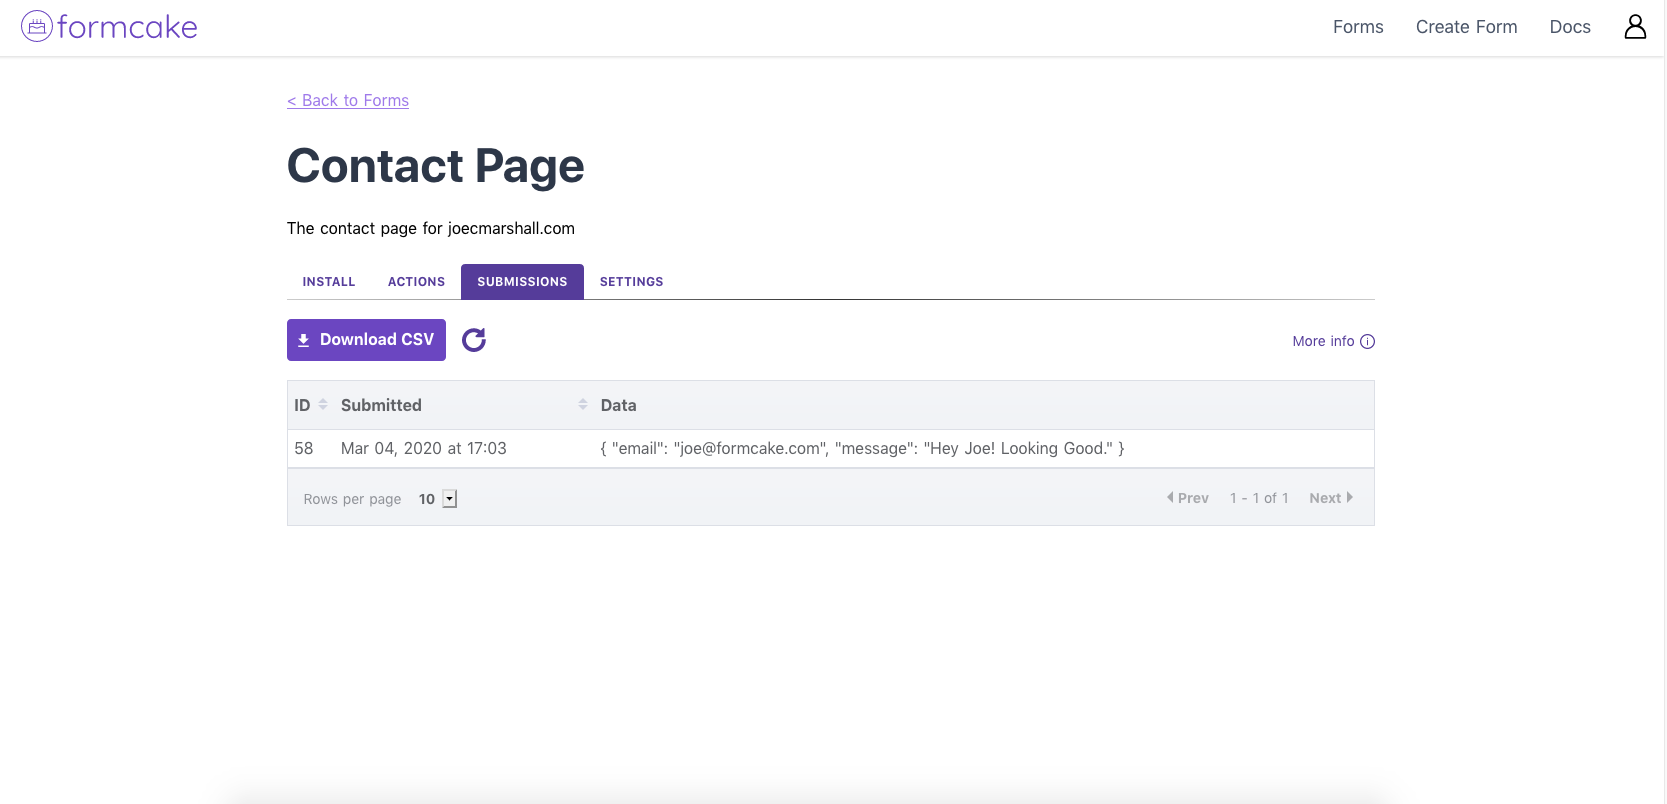
And it was! Now we can load up this submission with not just an email notification action, but maybe a webhook too - wouldn't it be fun to pipe these to a Slack client?
Conclusion
Adding a "Contact Us" page, a "Book a Demo" lead capture, or any other form doesn't have to mean spinning up a server and abandoning a purely static workflow.
With just a smidgen of configuration you can have your JAMstack cake and eat it too.